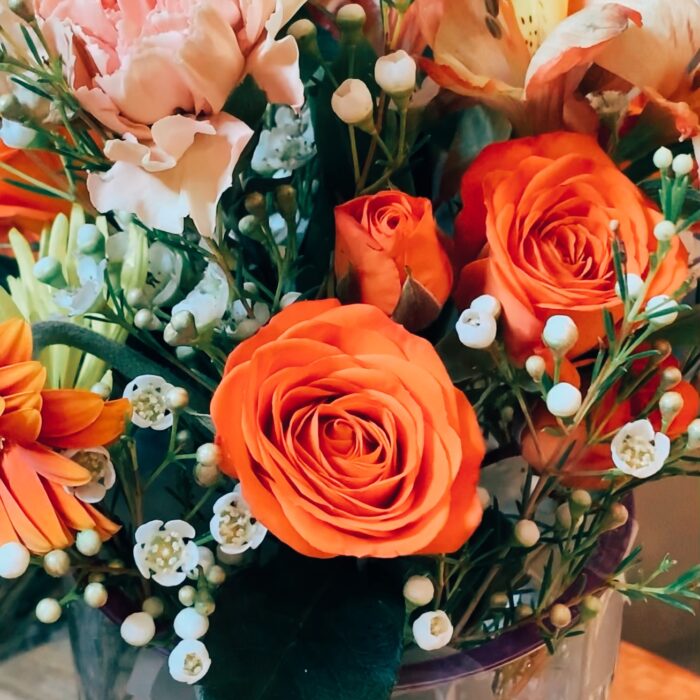
Affiliate Disclosure: This page contains affiliate links which means if you click on the link and purchase the item, I will receive an affiliate commission at no extra cost to you which I will then use to maintain this blog. See my full disclosure policy here.
I was never one for flowers but once I had my first apartment, I realized that fresh flowers could really spruce up a place. Now sometimes a decent bouquet could run you $30+ depending on where you shop but I’ve found a quick, easy and inexpensive way to create beautiful bouquets at home.
Shop around your neighborhood, check out your local garden center or florist shop; or even your local supermarket. I’ve found that inexpensive flowers and fillers when I go food shopping at Trader Joe’s with a variety that changes every week or so. Typically, a bouquet of assorted flowers and a filler costs me under $10. If you’re looking for something specific, definitely reach out to your local florist. If you go the non-specific route, think about color combos like monotone or high contrast that match your decor or your mood. I usually go with monotone or similar color palette because I’m no floral designer…just a girl trying to freshen up her home.
Okay, here’s what you’ll need:
- A bouquet of “supermarket flowers” aka Trader Joe’s for me. They’re only $3.99!
- A filler like wax flowers or baby’s breath
- Scotch Tape
- Scissors
- A Vase
Directions:
1. Fill a vase 2/3 of the way with warm water and add 1/2 of flower food packet. There’s some debut on whether you should fill your vase with warm or cold water…I’ll leave it to your discretion.
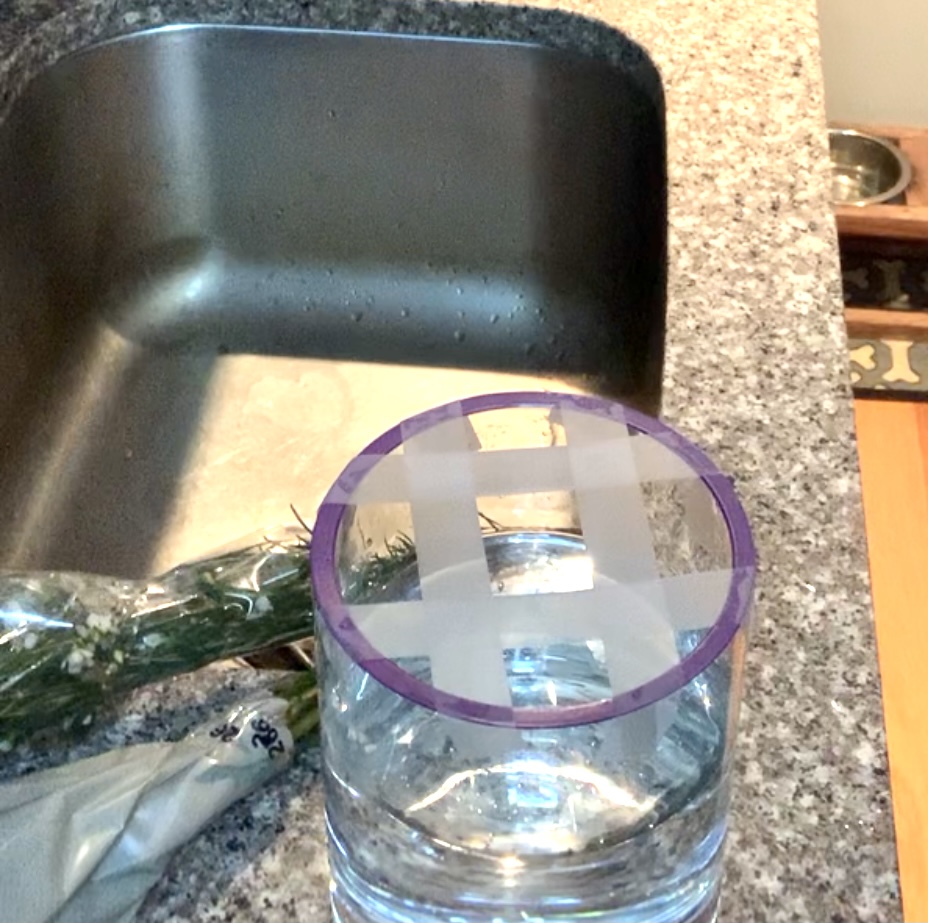
2. Create a grid on the top of the vase with scotch tape in the shape of a hashtag or a tic tac toe board. Try to start and end the tape about 1/4 inch over the edge so that it sticks well but won’t show once the flowers are all in.
If you have a small bouquet, make a grid that’s set a bit further into your vase with a wider center to create an illusion of fullness. If you have a large bouquet, make your grid even all the way around (like the example above) to create an even look throughout.
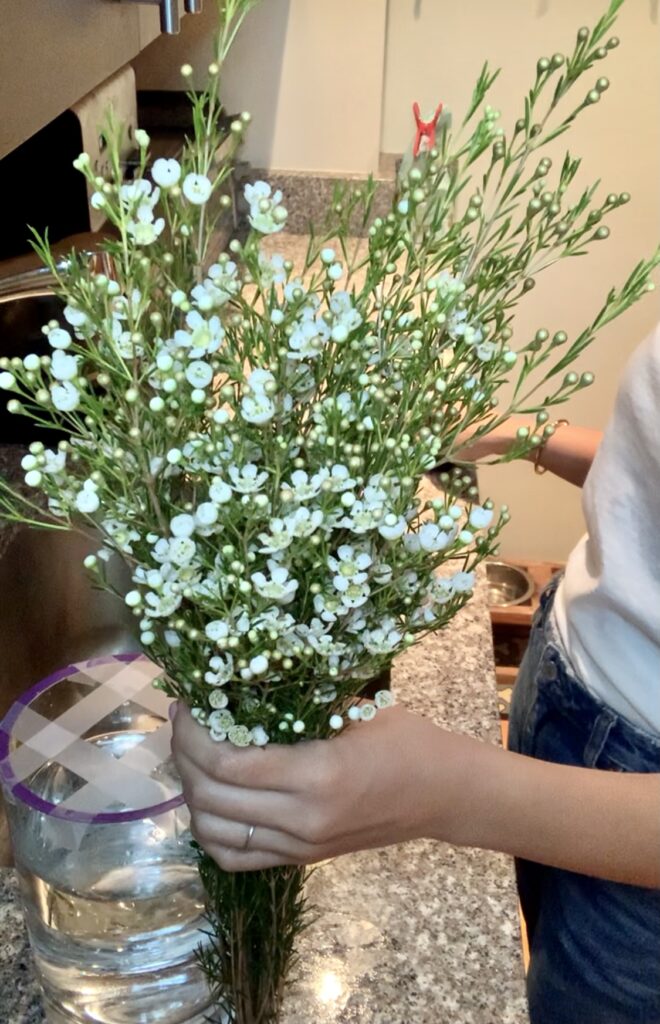
3. Cut the flowers and fillers to a height that looks good for your vase. I typically stand the flowers next to the vase and do a visual measure how much to trim off the ends. I need to invest in some vases in different vases because sometimes I want a taller dramatic look but my one tall vase is currently being used by a dried flower/moss ball piece that I’m tired of looking at…I digress.
IMPORTANT: You can always start with taller flowers and trim as you go rather than cutting it too short on the first go.
“If you look the right way, you can see that the whole world is a garden.”
– Frances Hodgson Burnett
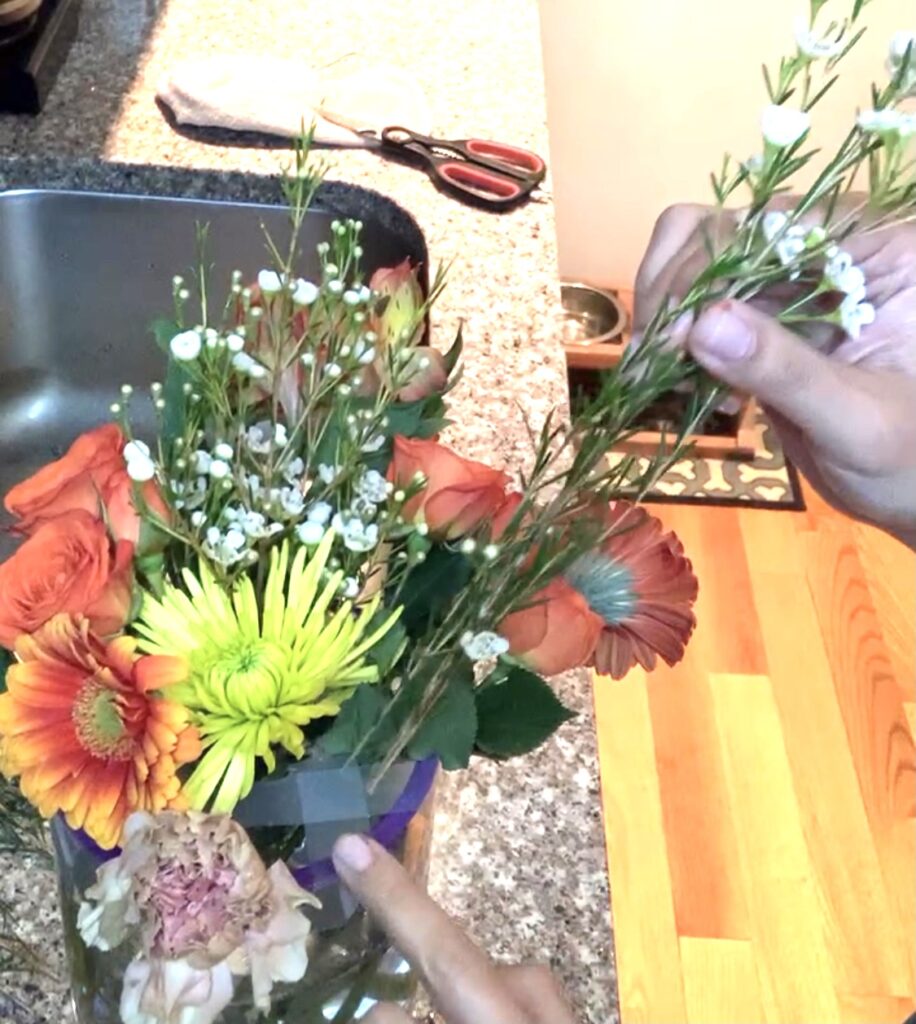
4. Plug in flowers into the vase grid to your liking. Have fun with it!…I like to put my vase on top of a lazy susan so that I can spin the vase and see how the arrangement looks from different angles.
It will take a few tries to see which flowers that you want to highlight and how to configure the color palette. Just make sure to not leave any empty spaces…so add those filler flowers!
Voila!

Leave a Reply